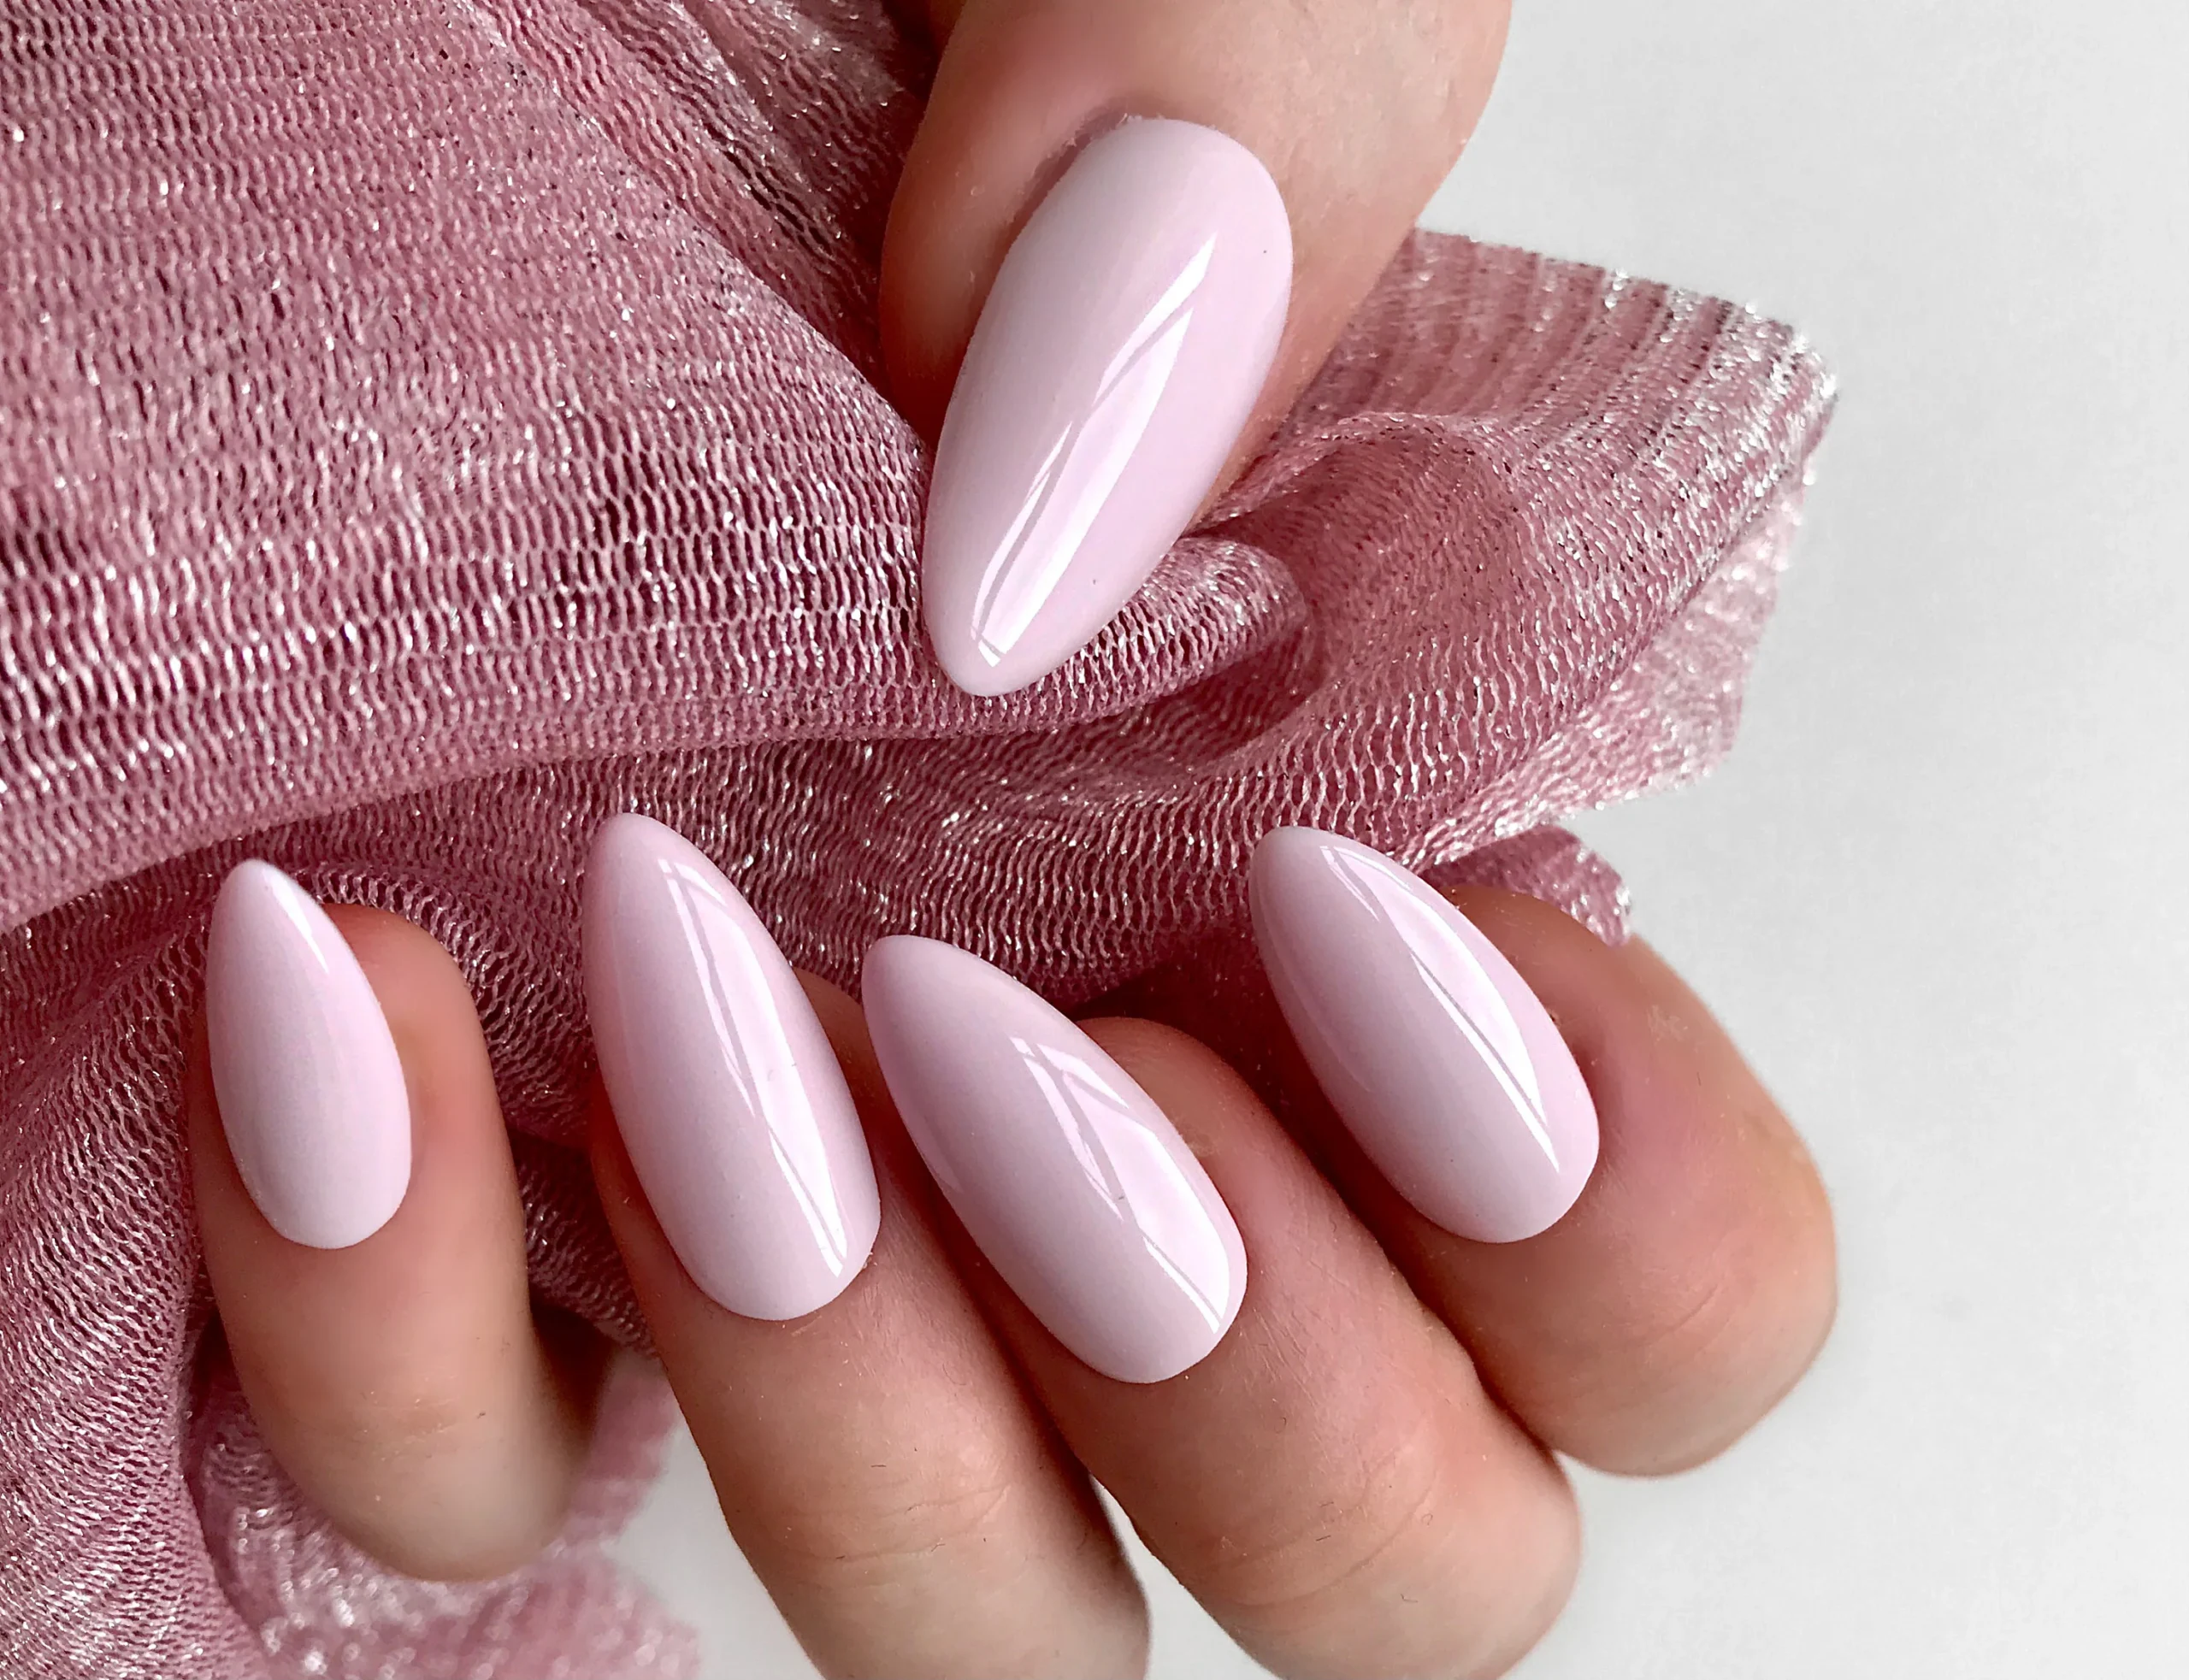
Press on nails are a quick and easy way to get beautiful nails without going to a salon. But applying them the right way makes all the difference in how long they last and how natural they look. When done properly, press on nails can stay in place for more than a week and look just as good as professional acrylics. If you skip steps or rush the process, they may pop off or feel uncomfortable.
A good application routine helps the nails stick better and stay on longer. It also protects your natural nails underneath. You don’t need fancy tools or expensive products to get it right. With just a few basic supplies and a little care, anyone can apply press ons successfully at home. This also saves time and money while giving you the freedom to switch up your look whenever you like.
Applying press on nails properly also boosts confidence. When your nails look great and feel secure, you’re more likely to enjoy wearing them. Learning the steps ensures you get the best results every time, whether it’s your first time or your hundredth.
Prepping Your Natural Nails for Application
Clean and Dry Hands Make a Big Difference
Before applying press on nails, start with clean hands. Wash them with soap and warm water to remove dirt, oils, and any lotion or cream. Oily nails can prevent the adhesive from sticking well, which can cause the press ons to fall off early. Once washed, dry your hands completely using a soft towel.
It’s also helpful to use rubbing alcohol or an alcohol pad to wipe each nail. This removes any leftover oils or moisture that soap alone may not clean. When your nails are totally dry and free from grease, the glue or adhesive tabs can grip better and last longer. Taking the time to clean your hands sets the base for a smooth and lasting application.
Avoid applying lotion or oil-based products before or after putting on press ons. These can make the nails slide off or weaken the bond. Instead, wait until after you’re finished and everything is set to use hand cream or cuticle oil if needed.
Trim and Shape Your Nails Before Application
Shorter natural nails work better for press on application. Start by trimming your nails so that they don’t extend past the fingertip. Long natural nails can prevent the press ons from sitting flat, which leads to lifting or popping off. After trimming, use a nail file to shape the edges and smooth out any rough spots.
Gently buff the surface of each nail using a buffer block or fine file. This creates a slightly rough texture that helps the adhesive stick better. Be careful not to over-buff or make the nail too thin. Just enough texture is needed to help the glue grip securely.
Push back your cuticles using a wooden stick or cuticle pusher. This gives the press on nail a cleaner, more polished look and helps it fit better on your natural nail bed. Proper nail prep makes a big difference in how well the nails stay on and how neat they appear once applied.
Step by Step Guide to Applying Press On Nails
Choosing the Right Size for Each Finger
Each press on nail set includes different sizes to fit various nail shapes. Before applying, take the time to match each press on nail to your natural nail. Lay them out in order from thumb to pinky so you know which nail goes where. If a nail feels too big, file the sides slightly until it fits snugly. If it’s too small, choose the next size up to cover the entire nail.
A perfect fit means the press on covers your nail from side to side without going over the skin. Nails that are too big can lift or feel uncomfortable. A well-fitted nail looks more natural and lasts longer because it sticks evenly across the surface.
Take a few extra minutes to double-check all sizes before applying any glue or tabs. Pre-fitting the nails saves time later and ensures you get the most secure and comfortable results.
Applying Glue or Adhesive Tabs the Right Way
Once your nails are prepped and sizes are picked, it’s time to apply the adhesive. If you’re using glue, apply a small drop on your natural nail and another small drop inside the press on nail. Spread it out evenly but avoid using too much. Too much glue can cause overflow, while too little may not hold the nail securely.
For adhesive tabs, peel off the protective film and stick the tab on your natural nail. Press it down firmly to remove air bubbles, then peel off the top layer before pressing on the nail. Adhesive tabs are great for temporary wear or special events since they’re easy to remove.
After placing the press on nail, press it down gently but firmly for 15 to 30 seconds. Hold it in place without moving so the adhesive bonds well. Repeat this step for each finger. Once all nails are applied, avoid using your hands for heavy tasks for at least an hour to allow the glue to set properly.
How to Make Your Press On Nails Last Longer
Avoid Water and Lotion After Application
To help your press on nails last longer, keep your hands dry for the first few hours after applying them. Water can weaken the glue or cause adhesive tabs to loosen. Avoid washing dishes, taking long showers, or swimming right after putting on your nails.
Also, stay away from lotions, oils, or creams during this time. These products can make the glue slippery and affect how well the press on nails stick. If you must wash your hands, do so gently and pat them dry with a towel rather than rubbing.
After the first few hours, it’s safe to resume your normal routine, but be mindful of how much water and product your nails are exposed to. Protecting your hands helps your press ons last longer and keeps them looking fresh and neat.
Take Care When Doing Daily Tasks
To keep your press on nails in good shape, be careful with how you use your hands during daily activities. Avoid using your nails to open cans, peel stickers, or scratch hard surfaces. Doing these things can put pressure on the edges and cause the nails to lift or break.
When doing chores like laundry or dishes, consider wearing gloves. This not only protects your nails from water and heat but also keeps them from snapping or bending. Typing, texting, and using tools should be done gently to avoid putting stress on the nail tips.
With the right habits, press on nails can last up to ten days or more. The better you care for them, the longer they’ll stay in place and look salon-fresh.
Conclusion
Putting on press on nails the right way makes all the difference in how long they last and how great they look. By following the right steps—starting with clean hands, prepping your nails, choosing the right size, and applying glue or tabs carefully—you can achieve a professional finish from home. Good habits after application, like avoiding water and being gentle with your hands, help keep your nails in place for days.With a little time and attention, press on nails can become your favorite beauty trick. They’re affordable, reusable, and perfect for anyone who wants salon-style nails without the salon visit. Whether you’re new to press ons or just want better results, following these tips will give you the perfect set every time.


